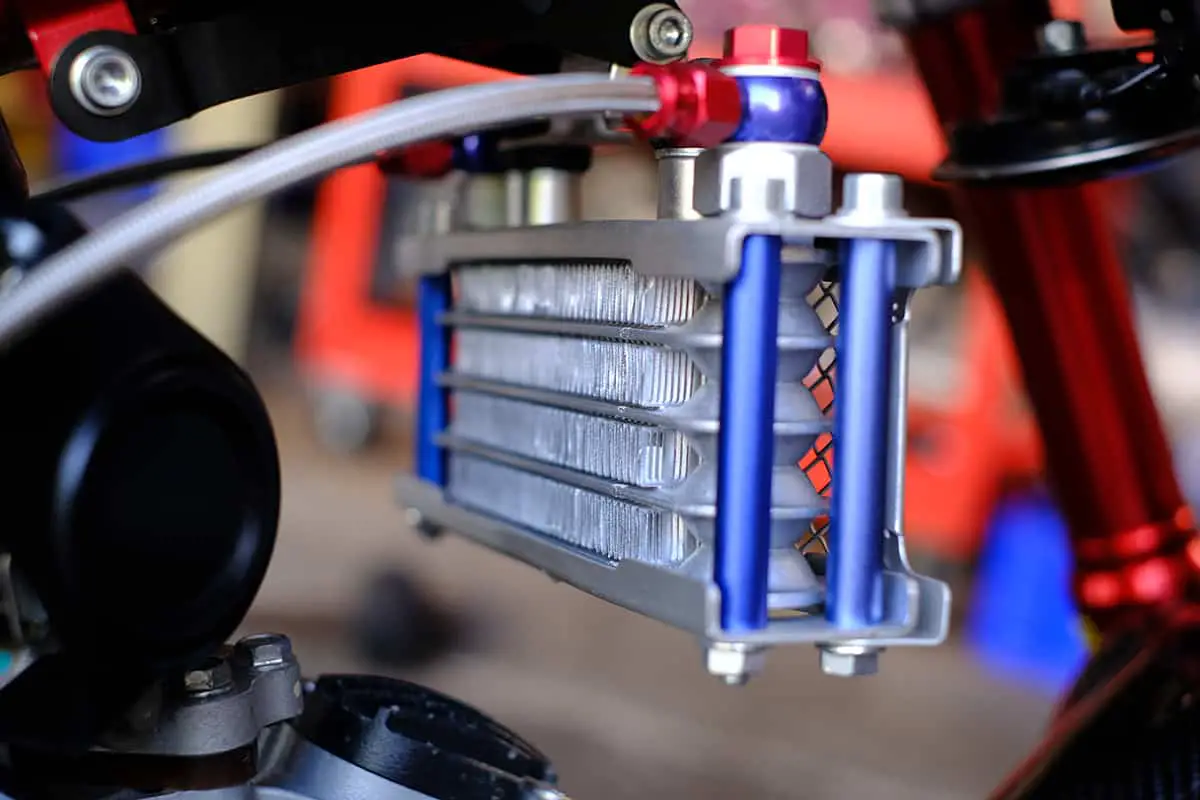
Transmission cooling lines play a vital role in regulating the temperature of transmission fluid, ensuring smooth operation and preventing potential damage to the transmission system. Over time, these lines may wear out or develop leaks, necessitating replacement. Properly exchanging transmission cooling lines is critical to maintaining the health and longevity of your vehicle.
Understanding Transmission Cooling Lines
The Role of Cooling Lines
Transmission cooling lines transport transmission fluid from the transmission to the radiator or an auxiliary cooler, where it dissipates heat before returning. This continuous cycle prevents overheating, which can lead to severe transmission damage.
Common Signs of a Problem
Leaks, cracks, or visible wear in the cooling lines are clear indicators that they require replacement. Other symptoms include low transmission fluid levels, overheating, or difficulty shifting gears.
Preparation for Replacing Transmission Cooling Lines
1. Gather Essential Tools and Materials
Having the right tools on hand streamlines the replacement process. Key items include:
- A wrench set (both metric and standard sizes)
- A transmission line disconnect tool
- Replacement cooling lines
- Transmission fluid (compatible with your vehicle)
- A drain pan and rags for cleanup
2. Ensure Safety
Always work on a vehicle that is securely elevated using jack stands or a lift. Avoid relying solely on a jack, as this can be hazardous. Wearing gloves and safety glasses is essential to protect against spills and debris.
3. Check Compatibility
Ensure that the replacement cooling lines match the specifications of your vehicle’s make and model. Universal lines may require additional fittings, so verify all parts before beginning.
Steps to Exchange Transmission Cooling Lines
1. Drain the Transmission Fluid
Locate the Drain Plug
Place a drain pan beneath the transmission to catch fluid. Locate the drain plug or remove the cooling lines carefully to allow fluid to drain.
Dispose of Fluid Properly
Transmission fluid is hazardous waste. Collect and dispose of it at a designated recycling facility to comply with environmental regulations.
2. Remove the Old Cooling Lines
Access the Lines
Cooling lines are typically connected at the transmission and the radiator or auxiliary cooler. Identify the connection points and ensure you have clear access.
Disconnect Using Proper Tools
Use a transmission line disconnect tool to separate the lines. Avoid using excessive force to prevent damage to surrounding components. Note the routing of the old lines to replicate the setup with the new ones.
3. Install the New Cooling Lines
Secure Connections
Attach the new lines to the transmission and the radiator or cooler. Tighten fittings snugly but avoid over-tightening, which can strip threads or damage fittings.
Follow Original Routing
Ensure that the new lines follow the same routing as the old ones. This prevents interference with moving parts or exposure to excessive heat sources.
4. Refill Transmission Fluid
Use Manufacturer-Recommended Fluid
Refill the transmission with the correct type and amount of fluid as specified in the vehicle’s manual. Using the wrong fluid can impair transmission performance.
Check for Leaks
Start the vehicle and allow it to idle. Inspect the connections for any signs of leaks and tighten fittings as necessary.
Tips for Ensuring a Successful Replacement
1. Inspect Related Components
While replacing the cooling lines, inspect adjacent components such as the radiator, transmission cooler, and fittings for wear or damage. Addressing issues proactively can save time and prevent future problems.
2. Use Quality Materials
Opt for high-quality replacement lines and fittings. Substandard materials may save money upfront but can fail prematurely, leading to additional repairs.
3. Monitor Fluid Levels Post-Replacement
After the installation, regularly check transmission fluid levels and inspect for leaks during the first few weeks of operation.
Common Pitfalls to Avoid
1. Skipping the Draining Process
Failing to drain the transmission fluid before removing the cooling lines can result in significant spillage and mess.
2. Misaligning Connections
Improperly aligned or loosely connected fittings can lead to leaks or poor fluid flow. Double-check each connection before completing the replacement.
3. Neglecting Test Drives
A short test drive after replacing the lines helps ensure proper operation. Pay attention to shifting performance and check for leaks immediately afterward.
Benefits of Replacing Transmission Cooling Lines
Enhanced Performance and Longevity
By replacing worn cooling lines, the transmission operates more efficiently, reducing wear and prolonging its lifespan.
Cost Savings
Addressing cooling line issues promptly can prevent costly repairs associated with transmission overheating or failure.
Peace of Mind
A well-maintained transmission ensures smooth driving and minimizes the risk of unexpected breakdowns.
Conclusion
Replacing transmission cooling lines may seem daunting, but with the right tools, preparation, and attention to detail, it becomes a manageable task. Ensuring proper installation and fluid maintenance can protect your transmission from overheating and extend the overall reliability of your vehicle. This straightforward yet critical procedure underscores the importance of preventative maintenance in automotive care.